 Add Row
  Add
Add 


Crafting Your Own Butcher Block Countertop: A Rewarding Journey
Are you ready to elevate your kitchen’s aesthetics while developing your woodworking skills? Designing and building a butcher block countertop from scratch is not just about functionality; it’s a journey that merges creativity with craftsmanship. This guide walks you through the essential steps and considerations to ensure your DIY butcher block countertop becomes the centerpiece of your culinary space.
Why Choose Butcher Block: Aesthetics Meets Utility
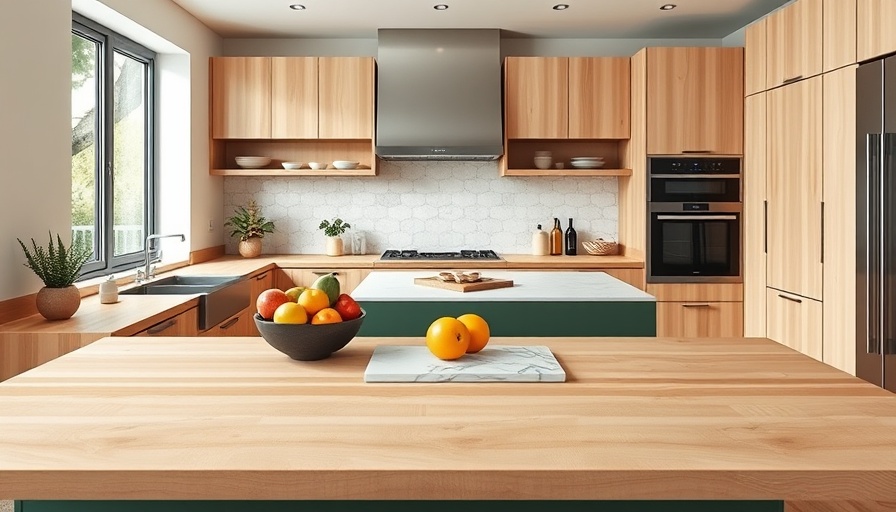
Butcher block countertops are not only visually appealing but also exceptionally functional. Made typically from hardwoods like maple, they offer a durable surface that can withstand the rigors of food preparation. The smooth, warm tone of hardwood adds a natural charm to kitchens, making the space more inviting. Additionally, the tight grain of maple resists dings and is less susceptible to contamination compared to more porous woods. These factors make butcher blocks an ideal choice for anyone looking to combine style with utility.
Tools and Materials: What You’ll Need to Get Started
Before diving in, it’s essential to gather all the necessary tools and materials to ensure a smooth building process. Here’s a comprehensive list:
- Angle grinder with a cutoff wheel
- Biscuit jointer
- Detail sander
- Drum sander or planer
- Router with various bits
- Clamps and wood glue
- Hard maple wood boards (at least 1-1/2" x 9" x 8')
- Food-safe finish (like beeswax or mineral oil)
By preparing ahead of time and having the right materials, you set yourself up for success in this rewarding DIY project.
Step-by-Step Overview for Building Your Butcher Block Countertop
The process may seem daunting, but breaking it down into manageable steps makes it achievable. Start by determining the dimensions you need and the appropriate amount of wood. Remember to purchase lumber that is slightly thicker than your target finish thickness.
1. Cutting the Wood: Begin by ripping the hard maple boards into evenly sized slats. A table saw will help you achieve clean cuts. It’s advisable to have these slats be around 2-1/2 inches wide, offering a robust structure for your countertop.
2. Gluing and Binding: Once trimmed, the fun part begins! Arrange your slats in the desired pattern, and then apply food-safe glue. Use clamps to hold everything in place while the glue sets.
3. Sanding and Finishing: After the glue dries, it’s time to smooth out your new countertop. Utilize different grades of sandpaper to meticulously sand down any rough edges, ensuring a splendid finish that highlights the beauty of the maple.
This labor of love will culminate in a butcher block countertop that not only serves its purpose but also tells a story of your skills and dedication.
Future Trends: The Rise of Sustainable Materials in DIY Projects
The growing awareness of sustainable living means that many homeowners are focusing on environmentally friendly materials for their projects. Using local hardwoods and non-toxic finishes aligns with a lifestyle that prioritizes both health and the environment. As our kitchens increasingly serve as gathering spaces, investing time in a project like this contributes not only to personal satisfaction but also supports sustainable choices.
Conclusion: Your DIY Journey Awaits
Creating your own butcher block countertop is more than just a woodworking project; it’s an opportunity to make your home unique while embracing the art of craftsmanship. So gather your tools, channel your inner handyman or handywoman, and dive into this rewarding endeavor. If you're ready to make a profound personal and aesthetic impact on your kitchen, start today!


 Add Row
  Add
Add 
Write A Comment