 Add Row
  Add
Add 


Turning Cracks into Creativity: A Homeowner's Guide to Repairing Floor Tiles
As a homeowner, cracks in your floor tiles can spell trouble and frustration. Yet, these minor imperfections don’t have to lead to expensive replacements. Fortunately, with the right tools and a little bit of patience, you can fix cracked tiles without resorting to full replacement. What might surprise you is how this DIY task not only saves money but also empowers you to maintain your home with confidence.
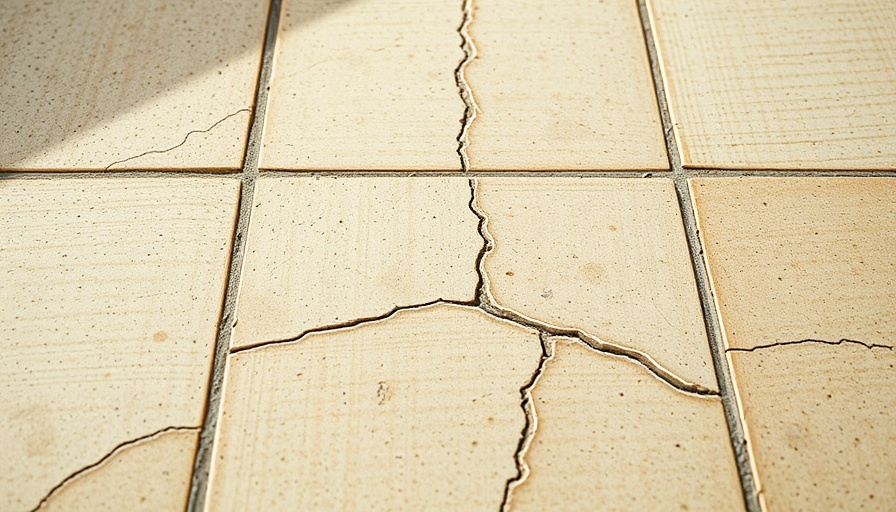
Understanding Tile Damage: Why Cracks Happen
Tiles might crack for several reasons—improper installation, temperature fluctuations, or just the result of a dropped object. While they enhance your home's aesthetic appeal, tiles are not immune to damage. Understanding why these cracks arise can help you take preventative steps in the future. For example, placing heavy furniture on pads can mitigate some pressure on your tiles, while ensuring adequate insulation can stabilize temperatures.
Essential Materials for an Effective Fix
Repairing cracked tiles requires just a few accessible tools and materials. Equip yourself with:
- Popsicle sticks or toothpicks
- Clear two-part epoxy
- Dish soap and water for cleaning
- Fine-grit sandpaper
- Detail paintbrush and tile paint
- Sealer to protect your repair
By gathering these items, you set yourself up for success, creating a smooth and durable repair that will blend seamlessly with your existing flooring.
Step-by-Step Guide to Repairing Your Floor Tiles
Follow these simple steps to restore your tiles to their original glory:
- Clean the Area: Use dish soap or rubbing alcohol to remove dirt and debris from the broken tile, ensuring the surface is completely dry.
- Mix Your Epoxy: According to the manufacturer’s instructions, prepare your two-part epoxy on a piece of cardboard.
- Apply Epoxy to the Crack: With your applicator, apply the epoxy generously and smooth it over the crack. Ensure to coat at least half a centimeter on either side of the damage.
- Let It Cure: Allow the epoxy to set for about 30 minutes; after which you can lightly sand it for a flush finish.
- Paint and Seal: Match your tile color with the appropriate paint and carefully coat the dried epoxy before applying a sealer to protect your work.
Following these steps will not only fix the crack but will also enhance the overall appearance of your floor.
When Professional Help is Needed
While patching minor cracks is a feasible DIY project for many homeowners, there are instances when a professional might be required. If the crack spreads significantly or if parts of the tile are missing, complete tile replacement may be your best option. Consulting experts ensures that the underlying issues are addressed properly, maintaining your home’s integrity.
Benefits of DIY Tile Repairs
Tackling repairs on your own can be incredibly rewarding. Aside from saving money, you gain hands-on experience that can be immensely beneficial for future home projects. Moreover, each successful repair builds your confidence, encouraging you to take on even larger home improvement tasks. You may find that your connection to your home strengthens as you look after it with your own hands.
Call to Action: Start Your Floor Restoration Journey Today!
Don’t let those small cracks disrupt the beauty of your home. Roll up your sleeves and give these DIY repair tips a try! With a little time and effort, you can restore your tiles and maintain the charm of your living space. And remember, each repair is an opportunity to connect more closely with your home!


 Add Row
  Add
Add 
Write A Comment