 Add Row
  Add
Add 


Understanding Drill Bits: The Basics for Homeowners
When it comes to tackling DIY projects around the house, knowing your drill bits is essential. Choosing the right drill bit for the job not only enhances efficiency but also ensures the longevity of your tools and the quality of your work. From wood to metal, different materials require specific bits, and understanding these distinctions can make all the difference on your next home improvement venture.
Types of Drill Bits and Their Uses
Each drill bit is designed for a specific purpose, and familiarizing yourself with these variations can elevate your DIY skills dramatically. For instance, twist bits are perfect for general use in wood, while spade bits work wonders for making larger holes in softer materials. If you're looking to penetrate tougher surfaces like metal or concrete, consider hammer drill bits or masonry bits respectively. By understanding the characteristics of these bits, you can select the ideal one for your project without unnecessary trial and error.
Choosing the Right Drill Material
While drill bits come in various shapes, the material of the bit significantly impacts its performance. HSS (High-Speed Steel) is ideal for general use, as it is durable and versatile. However, if you're frequently drilling into tougher materials, you might consider cobalt bits or titanium-coated bits, which offer enhanced durability. For those fiberboard or wood projects, forstner bits can create clean, flat-bottomed holes, a feature that provides a professional finish.
Maintenance Tips for Your Drill Bits
Like any tool, drill bits require proper care to maintain their effectiveness. Always ensure they're clean and free of debris after use. Over time, bits can dull, impacting performance; honing them with a sharpening device can restore their edge, saving you money in the long run. Moreover, storing bits in a protective case keeps them from chipping and helps establish a well-organized workspace.
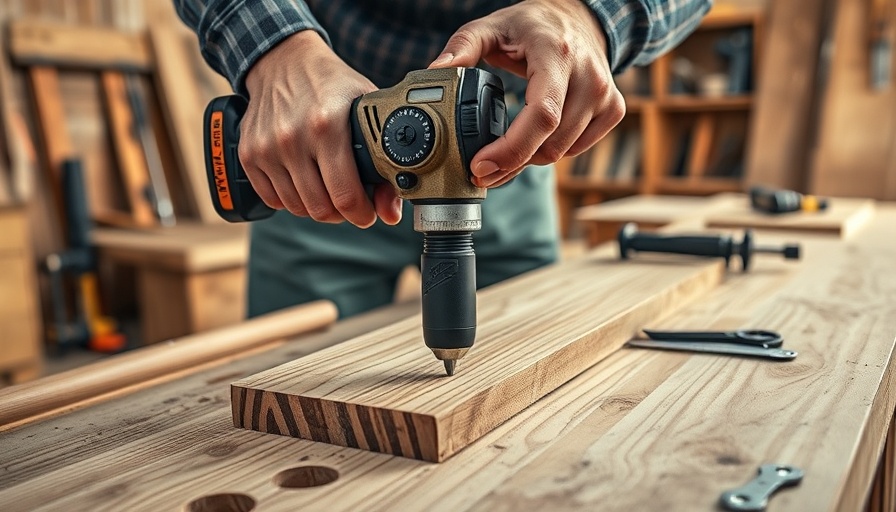
The Importance of Technique
As a homeowner, mastering your drill technique can enhance both safety and efficiency. Always start at a moderate speed and gradually increase as necessary. Applying too much pressure can lead to stripped screws or even breakage of bits, so patience is key. For delicate materials, especially, ensure the drill bit angle aligns correctly with your workpiece to avoid damage.
Conclusion: Embrace Your DIY Journey
Equipped with the right knowledge about drill bits and their uses, you're now ready to take on your home improvement projects with confidence. Remember, practice makes perfect, and every challenge is an opportunity to grow your skills. Who knows? You might just discover a new hobby that not only beautifies your home but also provides a great sense of accomplishment.


 Add Row
  Add
Add 
Write A Comment